Preview Mode
Preview mode is not a Gesso feature, but a feature that can be implemented with NextJS Review the links below to get a better understanding of how to implement this feature. The instructions below describe how to set up the preview mode with your Drupal and Next.js project.
Resources
- Next.js Preview Mode
- Describes the configuration and setup of the preview mode in Next.js.
- Drupal Next.js Module
- Handles the preview mode integration, configuration.
- Embeds the iframe, and allows for configuration of preview environments.
- Gesso Preview Module
- Handles the URL generation for the preview mode, ensuring we pass the correct query parameters along to the frontend.
- Such as
secret,token, andresourceVersion
- Such as
- Handles the URL generation for the preview mode, ensuring we pass the correct query parameters along to the frontend.
Overview
The objective of this feature is to enhance the interaction between Drupal and Next.js, offering content creators to preview their content within the Drupal environment, ensuring an accurate representation.
Example / Demo
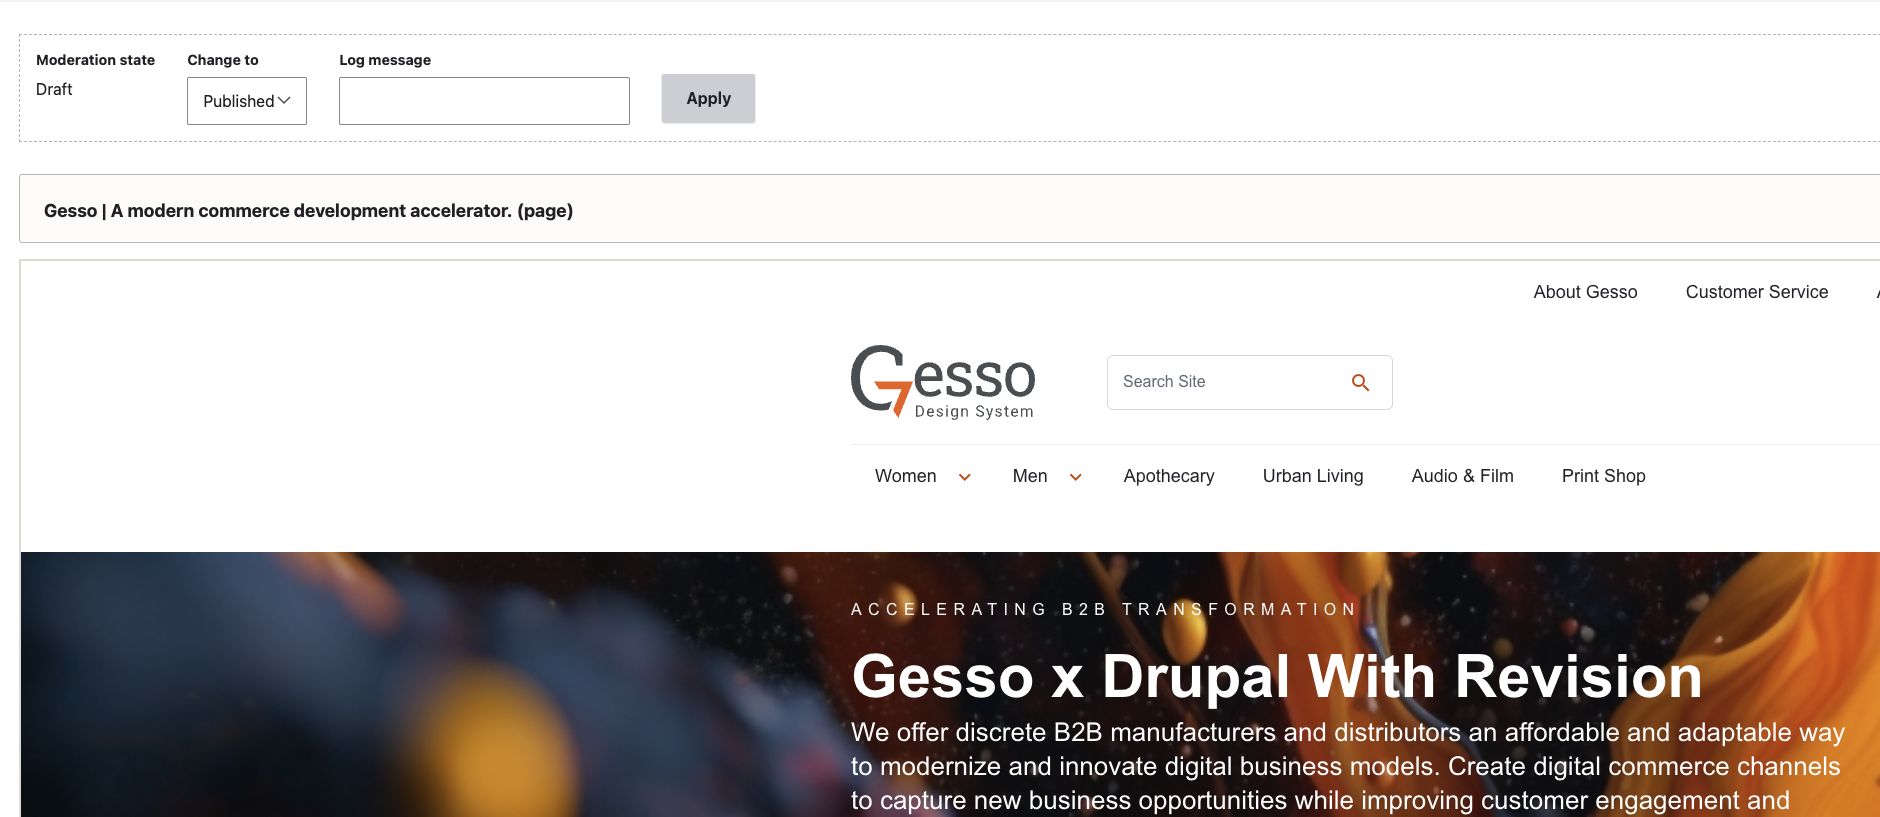
Here is a visual representation of how your next.js frontend would be previewed in Drupal.
View: (will show the current published version of the page)

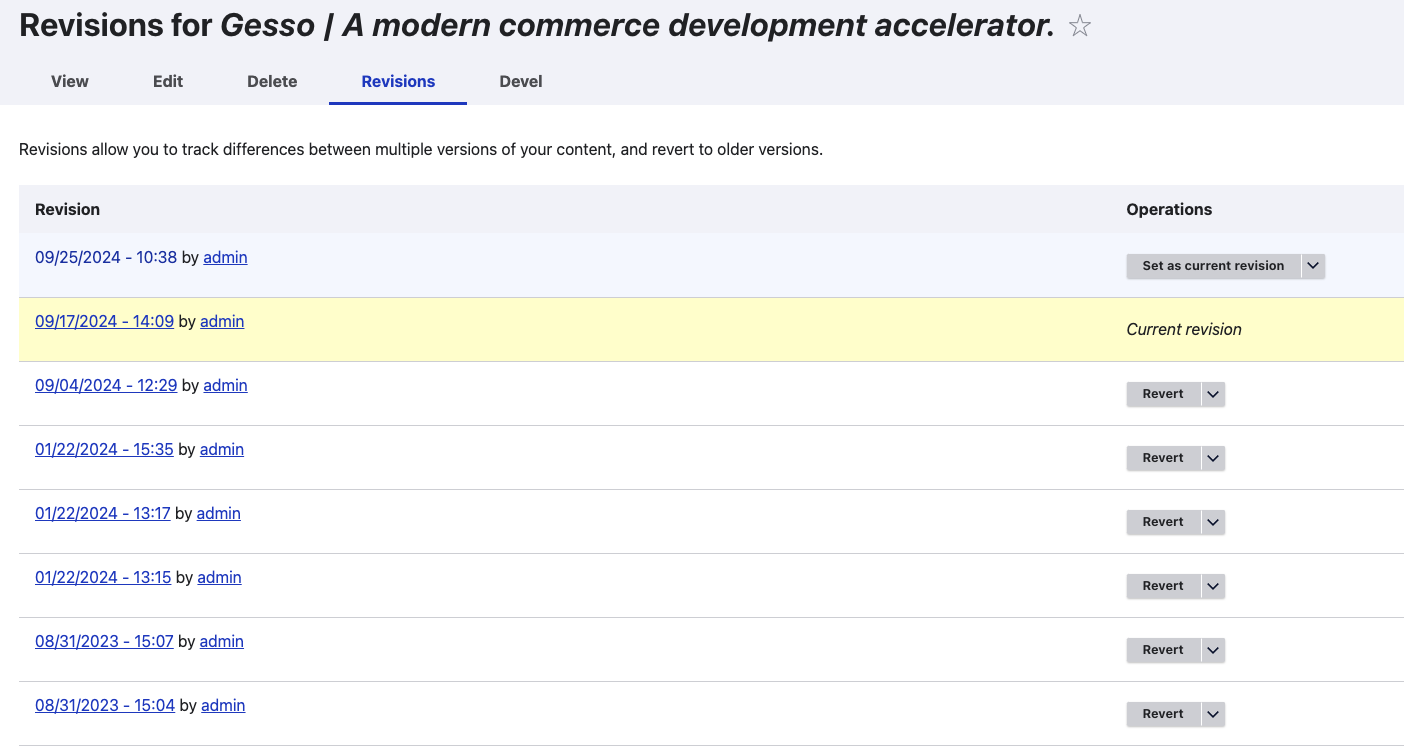
Revisions
To view a preview of the draft content, click the "revisions" tab and select the revision you'd like to preview.
This will open a preview of the selected revision.
Prerequisites
- Next.js frontend
- Drupal > 9
Installation
Environment variables
To use the preview mode on Drupal with Next.js, you'll need these specific environment variables:
Drupal Server Environment
Generate a random 256-bit encryption key for the JWT:
openssl rand -base64 32 > jwt.key
Generate a preview secret:
openssl rand -base64 16
Copy the text and save it for later.
Set up your environment variables
DRUPAL_PREVIEW_SECRET={YOUR-PREVIEW-SECRET} # This is the secret we genereated in the previous step, the secret should match the Next.js env.
FRONTEND_URL={http://frontend.com} # The url to your nextjs application
JWT_AUTH_KEY={GENERATED_ENCRYPTION_KEY} # This is the key we generated in the previous step.
Next.js Server Environment
DRUPAL_PREVIEW_SECRET={YOUR-PREVIEW-SECRET} # This secret should match the backend env.
If the project is being hosted on lagoon, you may use the following command line to set these variables.
Drupal
lagoon -p PROJECT_NAME add variable -N DRUPAL_PREVIEW_SECRET -V <YOUR_SECRET_KEY> -S runtime
Next.js
lagoon -p PROJECT_NAME add variable -N DRUPAL_PREVIEW_SECRET -V <YOUR_SECRET_KEY> -S build
Modules
Required modules:
We've created an internal module that simplifies the installation process. Just install the gesso_preview module, and it will handle all the necessary configurations for you.
Installation command
composer require gesso_preview
If you encounter problems accessing the package, visit the following page to ensure your project is configured correctly. Prerequisites : Composer Packages
Configurations
Settings.php
Add the following code to your all.settings.php.
if (getenv('LAGOON')) {
  // Add configs overrides for next.js module
  if (getenv('FRONTEND_URL')) {
    $config['next.next_site.frontend']["base_url"] = getenv('FRONTEND_URL');
    $config['next.next_site.frontend']["preview_url"] = getenv('FRONTEND_URL') . '/api/preview';
  }
  if (getenv('DRUPAL_PREVIEW_SECRET')) {
    $config['next.next_site.frontend']["preview_secret"] = getenv('DRUPAL_PREVIEW_SECRET');
  }
}
Keys Module
For generating JWT Tokens, a key needs to be configured in the system. This key JWT_AUTH_KEY should be set up
automatically during the installation of the gesso_preview module, if not follow the manual configuration.
Manual configuration
Go to the configuration page and add a new key with the details below.
Key name: JWT Auth Key
Machine Name: jwt_auth_key

Type settings
Key Type: JWT HMAC Key
JWT Algorithm: HMAC using SHA-256 (HS265)

Provider settings
Key provider: Environment
Environment variable: JWT_AUTH_KEY
JWT Module
For generating JWT Tokens, a key needs to be assigned as the JWT Key. This should be set up automatically during the installation of the gesso_preview module, if not follow the manual configuration.
Manual configuration
Go to the configuration page and assign the JWT key.
JWT Key: JWT Auth Key
Next.js Module
There are 3 component to the Next.JS module which we'll share the details for each. This should be set up automatically during the installation of the gesso_preview module, if not follow the manual configuration.
Sites
Manual configuration
Go to the configuration page and add a new Next.js site with the following settings.
Label: Frontend
Machine name: frontend
Base URL: http://localhost:3000

---
Preview Mode
---
Preview URL: http://localhost:3000/api/preview
Preview secret: Test1234

---
On-demand Revalidation
---
Plugin: None
Note that Base URL, Preview URL and Preview secret values are being overridden through settings.php.
Entity Types
Manual configuration
Go to the configuration page and Configure a new entity type with the following settings for the Basic page content
type.
Entity Type: Basic Page

---
Preview Mode
---
Plugin: Site selector
Next.js Sites: [-] Frontend

---
On-demand Revalidation
---
Plugin: None
Settings
Manual configuration
Go to the configuration page and assign the following settings.
---
Preview URL
---
Plugin: Gesso Preview

---
Site Previewer
---
Plugin: Iframe
Width: 100%
Frontend Next.js Configurations
For the frontend preview mode to function, ensure specific files are included in your Next.js project.
Files
These files are required and used to parse preview requests.
API Route
./
  ./src
    ./pages
      ./api
        ./exit-preview.ts
        ./preview.ts
      [routeId].tsx <--example
A copy of these files can be found here:
Dynamic Page
For Drupal revision support, make sure to pass the revisionId when using useContent().
./
  ./src
    ./pages
      /[routeId].tsx <--example
An example of this file can be found here: